Hardware/3D Printed Case
3D Printed Case Installation
Assembling the two-part 3D printed case around a Neuro N6 and a Neuro Vision module.
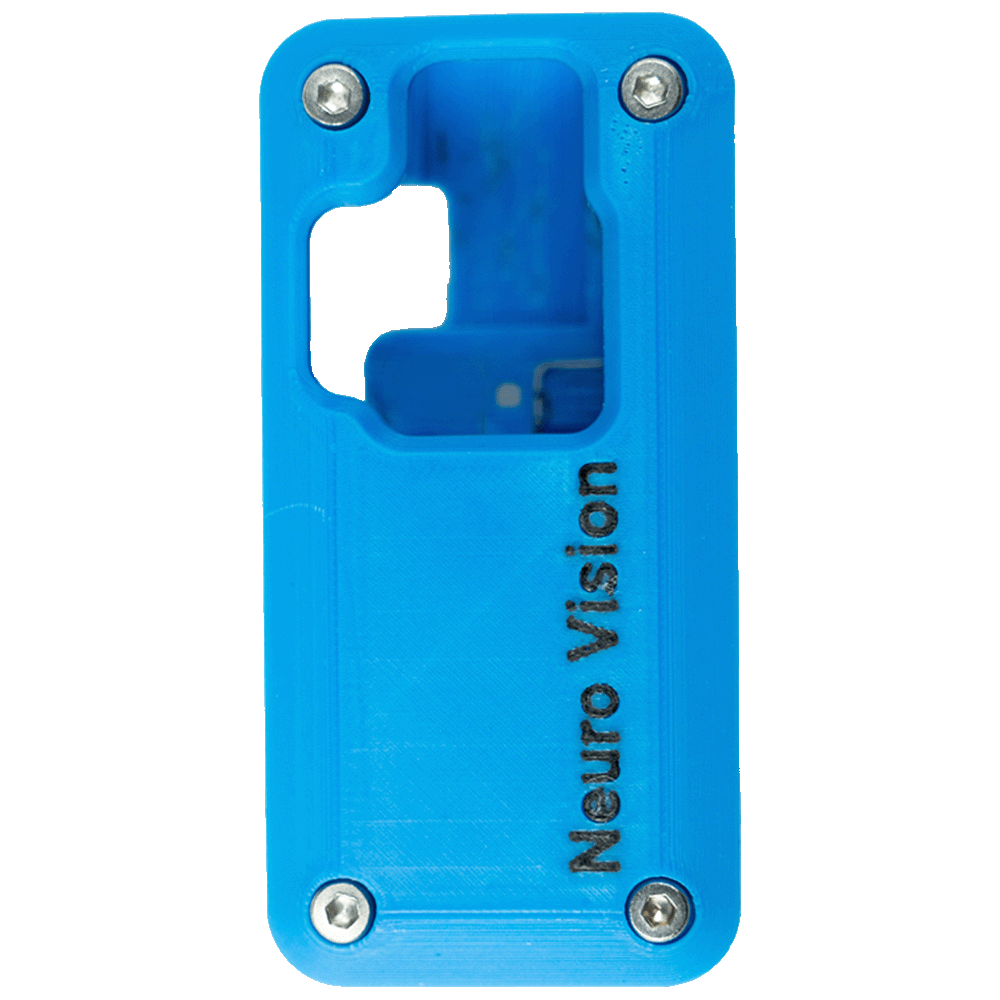
The 3D printed case encloses a Neuro N6 with a Neuro Vision module fitted. It consists of two printed parts, an upper and a lower case, supplied as STL files in the Neuro-N6-Hardware repository.
Parts
| Part | File | Function |
|---|---|---|
| Lower case | Neuro-N6-Lower-Case.stl | Holds the Neuro N6 with the USB-C connector, reset and USER buttons and the battery connector accessible |
| Upper case | Neuro-N6-Upper-Case.stl | Covers the Neuro Vision module with an aperture for the camera |
Assembly
- The Neuro Vision module is mated with the board-to-board connectors on the Neuro N6 with the board unpowered.
- The assembly is placed in the lower case with the USB-C connector aligned to its opening.
- A battery, if used, is connected before the upper case is fitted.
- The upper case is fitted over the module so that the lens sits in its aperture.
Printing
The parts print in PLA or PETG. PETG is preferred for a case that will be left in sunlight or in a warm enclosure. The STL files are oriented for printing.
Related pages
Downloads lists the files.